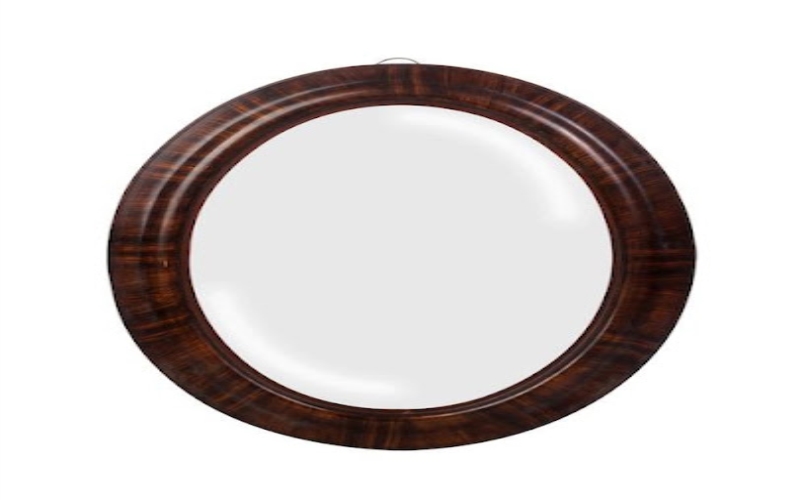
Mirrors not only serve a functional purpose but also enhance the aesthetics of a space by adding depth, light, and style. Hanging mirrors may seem like a simple task, but it requires careful consideration of various factors to achieve the desired effect. This comprehensive guide will provide you with valuable tips, techniques, and design considerations to help you hang mirrors like a pro and create stunning focal points in your home.
1. Why Hanging Mirrors Matters
Hanging mirrors strategically can have a significant impact on the overall ambiance and visual appeal of your home. When properly placed, mirrors can create an illusion of space, brighten up rooms by reflecting natural light, and even make a room feel more inviting. Whether you’re aiming to make a small room appear larger or want to add a decorative focal point, hanging mirrors can be a game-changer.
2. Determining the Perfect Placement
Before diving into the process of hanging mirrors, it’s essential to determine the perfect placement for optimal results. Consider the following factors when deciding where to hang your mirrors:
I) Reflect Natural Light:
Identify areas in your home that receive ample natural light and hang mirrors nearby to maximize their reflection and create a brighter space.
II) Create Illusions:
To make a room appear more spacious, hang mirrors on walls opposite windows or entryways. This will help bounce light around the room and create an illusion of depth.
III) Enhance Views:
If you have a stunning view outside, strategically position a mirror to capture and amplify the beauty of the landscape, bringing it indoors.
IV) Highlight Décor:
Use mirrors to accentuate specific decorative elements or artworks in your home. Placing a mirror above a fireplace or near a statement piece can draw attention and create a visually appealing arrangement.
3. Selecting the Right Mirror
Choosing the right mirror is crucial to achieving the desired effect in your home. Consider the following factors when selecting a mirror:
I) Size:
Determine the appropriate size of the mirror based on the available wall space and the desired visual impact. Larger mirrors work well in spacious rooms, while smaller ones can be used to add a touch of elegance to compact areas.
II) Shape:
Experiment with different mirror shapes to add variety and visual interest to your space. Rectangular, round, oval, and even unconventional shapes can all contribute to the overall aesthetic.
III) Frame:
The frame of a mirror plays a vital role in complementing your existing décor. Choose a frame that aligns with your interior design style—whether it’s classic, contemporary, rustic, or eclectic.
IV) Placement:
Consider the mirror’s weight and choose appropriate hanging hardware that can support it securely. Depending on the size and weight, you may need to use wall anchors or consult a professional for assistance.
4. Hanging Mirrors: Step-by-Step Guide
Now that you have determined the ideal placement and selected the perfect mirror, let’s dive into the process of mirror hanging Melbourne. Follow these steps for a successful mirror installation:
I) Gather the Right Tools:
Before you begin, make sure you have the necessary tools, including a tape measure, level, pencil, stud finder, screws or hooks, and a drill or screwdriver.
II) Measure and Mark:
Use a tape measure to determine the appropriate height and position for your mirror. Mark the wall lightly with a pencil to indicate where the mirror’s top, bottom, and sides will be.
III) Locate Studs:
If possible, find the studs behind the wall using a stud finder. Attaching the mirror to studs will provide extra stability. If studs are not available, use wall anchors to secure the mirror firmly.
IV) Install Hanging Hardware:
Depending on the mirror’s weight and design, install the appropriate hanging hardware. For heavy mirrors, use sturdy D-rings or picture wire. For lighter mirrors, sawtooth hangers or adhesive hooks may suffice.
V) Level and Hang:
Use a level to ensure the mirror is straight and adjust as needed. Once the mirror is level, carefully hang it on the installed hardware, double-checking its stability.
VI) Finishing Touches:
Take a step back and admire your newly hung mirror. Make any necessary adjustments and ensure it is securely in place. Wipe away any smudges or fingerprints for a flawless finish.
5. Expert Tips for Mirror Hanging Success
To achieve the best results and make your mirrors stand out, consider the following expert tips:
I) Experiment with Groupings:
Create a stunning visual impact by grouping mirrors of different shapes and sizes together. This arrangement can add depth, dimension, and an artistic touch to your space.
II) Play with Light and Reflections:
Experiment with various lighting sources, such as lamps and sconces, to enhance the mirror’s reflective properties. Strategically placed lighting can amplify the mirror’s impact and create captivating visual effects.
III) Consider Functional Placement:
Hang mirrors in practical locations such as hallways, entryways, or dressing areas. These areas benefit from the mirror’s functionality while still adding an element of style.
IV) Regular Maintenance:
Keep your mirrors looking their best by cleaning them regularly. Use a soft, lint-free cloth and a mild glass cleaner to remove any dust, smudges, or streaks.
By following these comprehensive guidelines, you’ll be well on your way to hanging mirrors in your home like a true expert. Embrace the transformative power of mirrors and elevate the ambiance of your living spaces.

